All Categories
Featured
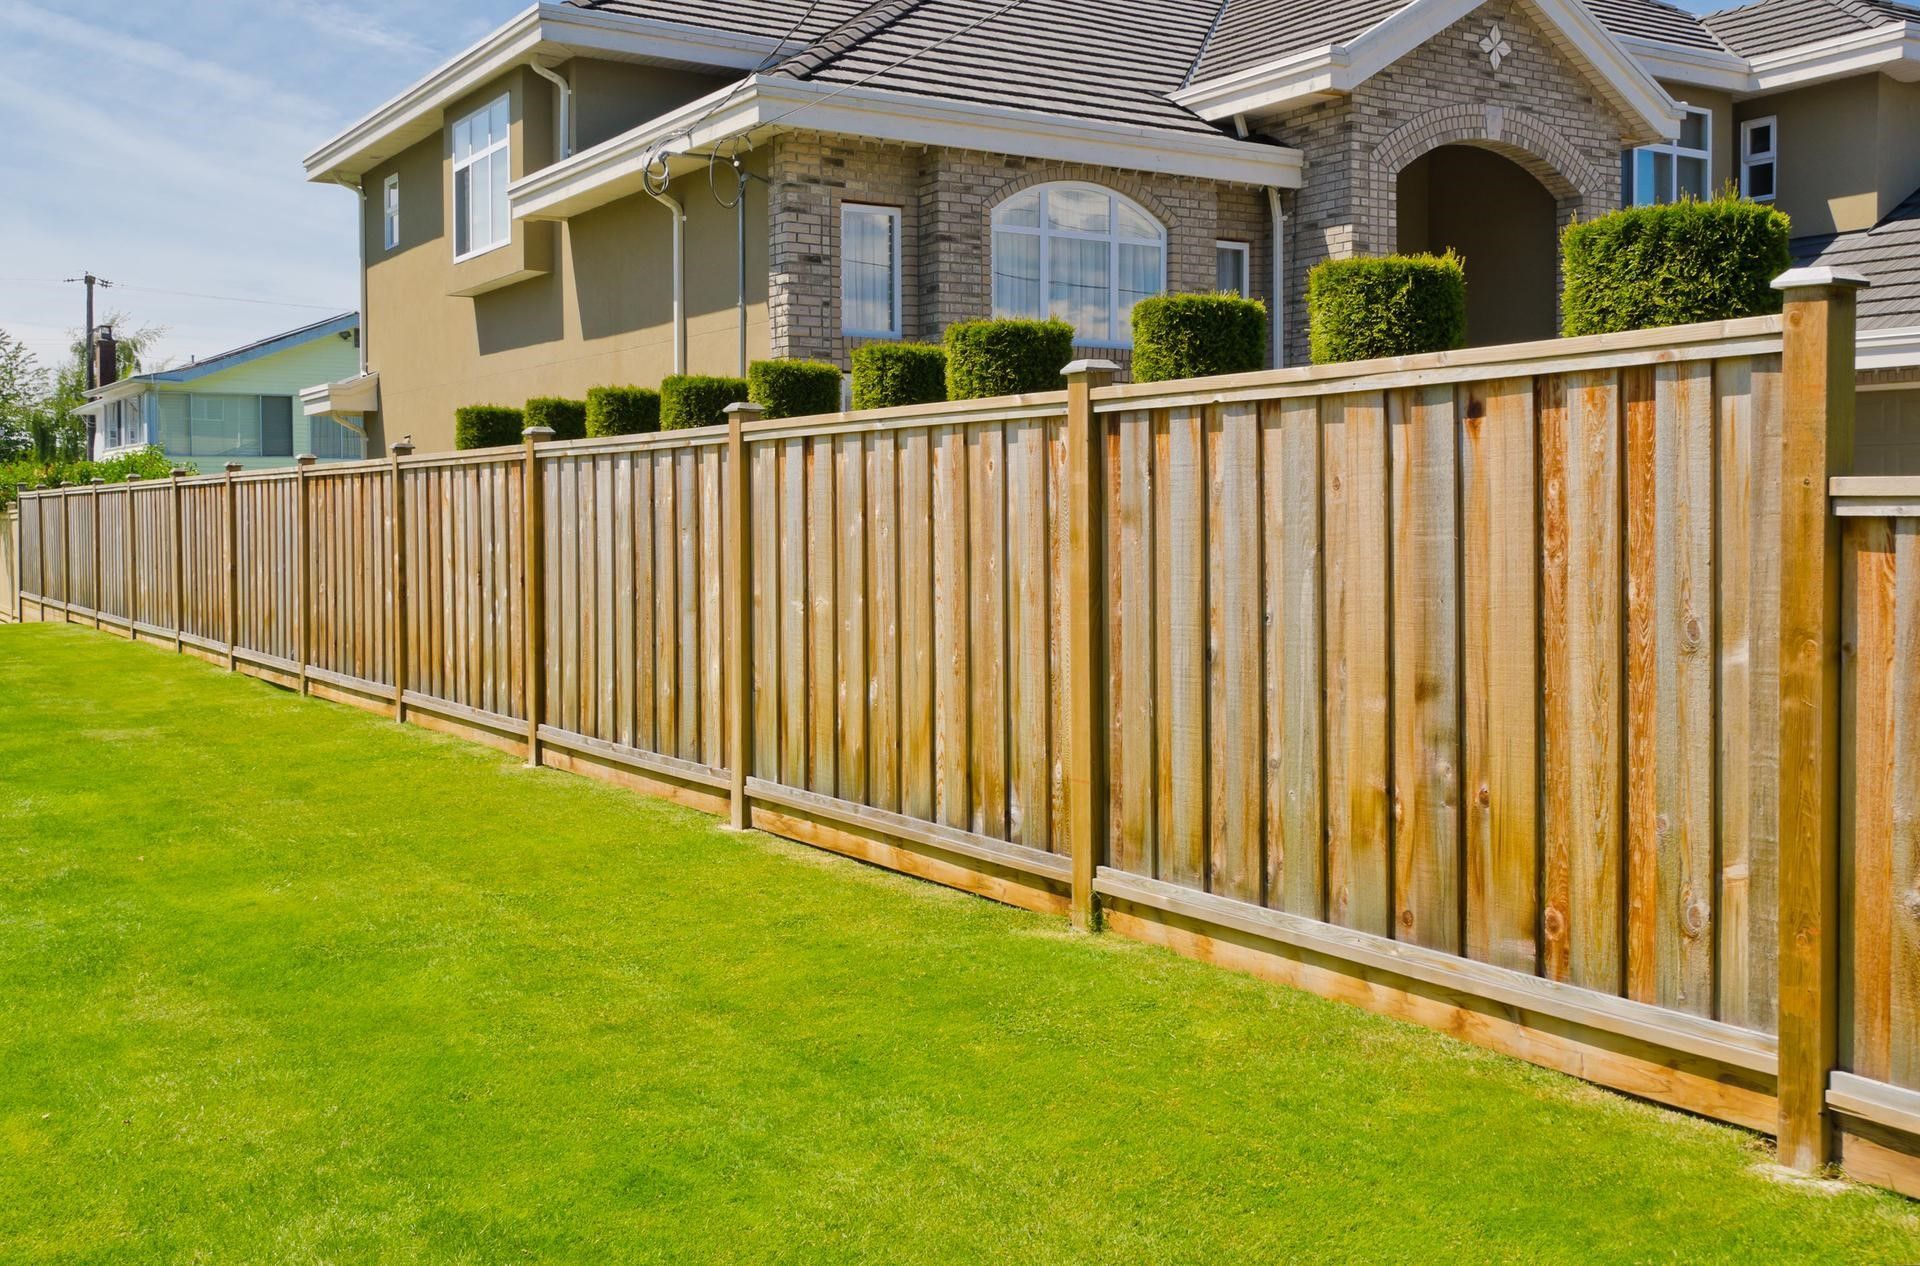
Fence posts play an essential duty in keeping the stability and appearance of your fence. When a message leans or comes to be damaged, it's vital to deal with the concern promptly to protect against more degeneration. Below's a thorough guide on exactly how to repair a leaning or harmed fence article effortlessly.
Action 1: Establish the Source Of the Issue
Comprehending why your fencing message is leaning or damaged is key to applying the appropriate solution. Typical causes include:
Dirt disintegration or loose ground
Rot or degeneration in wooden blog posts
Physical damage from weather condition or effect
![]()
Insufficient setup or improper safeguarding
Determining the reason aids guarantee the problem won't repeat after repair service.
Step 2: Collect Tools and Products
You'll need the following things:
Shovel or blog post opening miner
Drill or hammer
Degree
Gravel or concrete mix
If required),Substitute message (.
If needed),Saw (for reducing timber.
Article repair work braces or supports (optional)
Step 3: Dealing With a Leaning Fencing Article
If the post is leaning yet not harmed, right here's how to repair it:
Dig Around the Base. Use a shovel to dig around the leaning blog post, revealing its base and loosening up the dirt.
Align the Post. Use a degree to check upright placement. Have somebody hold the message upright while you readjust it.
Reinforce the Base
For Crushed Rock: Fill the hole with crushed rock, tamping it down as you most likely to guarantee stability.
For Concrete: Pour concrete right into the hole around the base of the message, ensuring it fills up all voids.
Secure and Establish. Enable the concrete to treat for at least 1 day. Once it's solid, the post needs to stay upright.
Step 4: Changing a Damaged Blog Post
![]()
When a post is damaged or rotten, substitute is frequently the ideal solution.
Get Rid Of the Old Blog Post. Dig out the harmed message along with any concrete footing. You might require a crowbar for stubborn pieces.
Prepare the Opening. Clean the opening and make it somewhat larger if required. Guarantee the deepness is at least one-third the blog post's overall length for stability.
Set Up the New Post. Place the brand-new message in the red and examine alignment with a level. Safeguard it briefly with dental braces or risks.
Fill Up and Protect. Use gravel or concrete to fill the hole, pouring or tamping as required. Let the material set before attaching fence panels or rails.
Action 5: Prevent Future Issues.
To keep your fence messages tough and sturdy, adhere to these suggestions:
Use pressure-treated timber or metal posts resistant to rot and degeneration.
Ensure correct drain to stop water from pooling at the base.
Inspect your fence yearly for indicators of wear or instability.
Verdict
Repairing a leaning or harmed fence post is a convenient DIY job that can save you time and money. By identifying the problem, using the best materials, and complying with these steps, you can restore your fence to its initial condition. Normal upkeep and timely repairs will ensure your fence remains a attractive and solid function of your home for several years to come.
Action 1: Establish the Source Of the Issue
Comprehending why your fencing message is leaning or damaged is key to applying the appropriate solution. Typical causes include:
Dirt disintegration or loose ground
Rot or degeneration in wooden blog posts
Physical damage from weather condition or effect
Insufficient setup or improper safeguarding
Determining the reason aids guarantee the problem won't repeat after repair service.
Step 2: Collect Tools and Products
You'll need the following things:
Shovel or blog post opening miner
Drill or hammer
Degree
Gravel or concrete mix
If required),Substitute message (.
If needed),Saw (for reducing timber.
Article repair work braces or supports (optional)
Step 3: Dealing With a Leaning Fencing Article
If the post is leaning yet not harmed, right here's how to repair it:
Dig Around the Base. Use a shovel to dig around the leaning blog post, revealing its base and loosening up the dirt.
Align the Post. Use a degree to check upright placement. Have somebody hold the message upright while you readjust it.
Reinforce the Base
For Crushed Rock: Fill the hole with crushed rock, tamping it down as you most likely to guarantee stability.
For Concrete: Pour concrete right into the hole around the base of the message, ensuring it fills up all voids.
Secure and Establish. Enable the concrete to treat for at least 1 day. Once it's solid, the post needs to stay upright.
Step 4: Changing a Damaged Blog Post
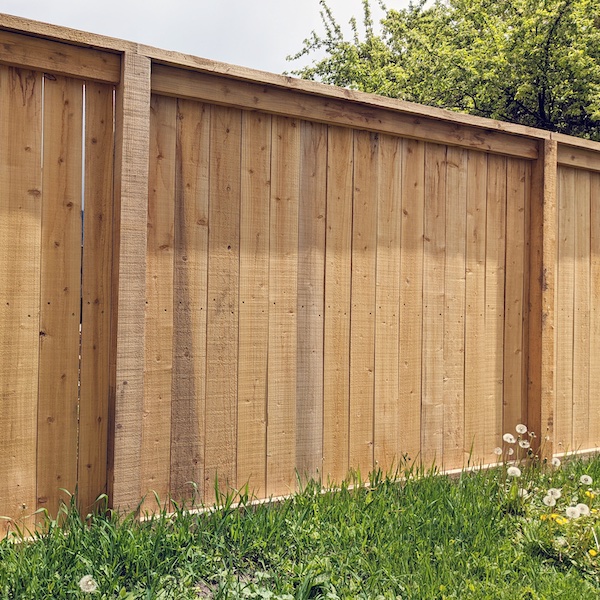
When a post is damaged or rotten, substitute is frequently the ideal solution.
Get Rid Of the Old Blog Post. Dig out the harmed message along with any concrete footing. You might require a crowbar for stubborn pieces.
Prepare the Opening. Clean the opening and make it somewhat larger if required. Guarantee the deepness is at least one-third the blog post's overall length for stability.
Set Up the New Post. Place the brand-new message in the red and examine alignment with a level. Safeguard it briefly with dental braces or risks.
Fill Up and Protect. Use gravel or concrete to fill the hole, pouring or tamping as required. Let the material set before attaching fence panels or rails.
Action 5: Prevent Future Issues.
To keep your fence messages tough and sturdy, adhere to these suggestions:
Use pressure-treated timber or metal posts resistant to rot and degeneration.
Ensure correct drain to stop water from pooling at the base.
Inspect your fence yearly for indicators of wear or instability.
Verdict
Repairing a leaning or harmed fence post is a convenient DIY job that can save you time and money. By identifying the problem, using the best materials, and complying with these steps, you can restore your fence to its initial condition. Normal upkeep and timely repairs will ensure your fence remains a attractive and solid function of your home for several years to come.
Latest Posts
Check Out the Premier Auto Repair Offers in Montclare, Chicago
Published May 27, 25
1 min read
Find the Premier Auto Repair Offers in Montclare, Chicago
Published May 27, 25
1 min read
Explore Reduce Expenses on Car Maintenance with Montclare Auto Repair’s Limited-Time Deals
Published May 26, 25
1 min read
More
Latest Posts
Check Out the Premier Auto Repair Offers in Montclare, Chicago
Published May 27, 25
1 min read
Find the Premier Auto Repair Offers in Montclare, Chicago
Published May 27, 25
1 min read
Explore Reduce Expenses on Car Maintenance with Montclare Auto Repair’s Limited-Time Deals
Published May 26, 25
1 min read